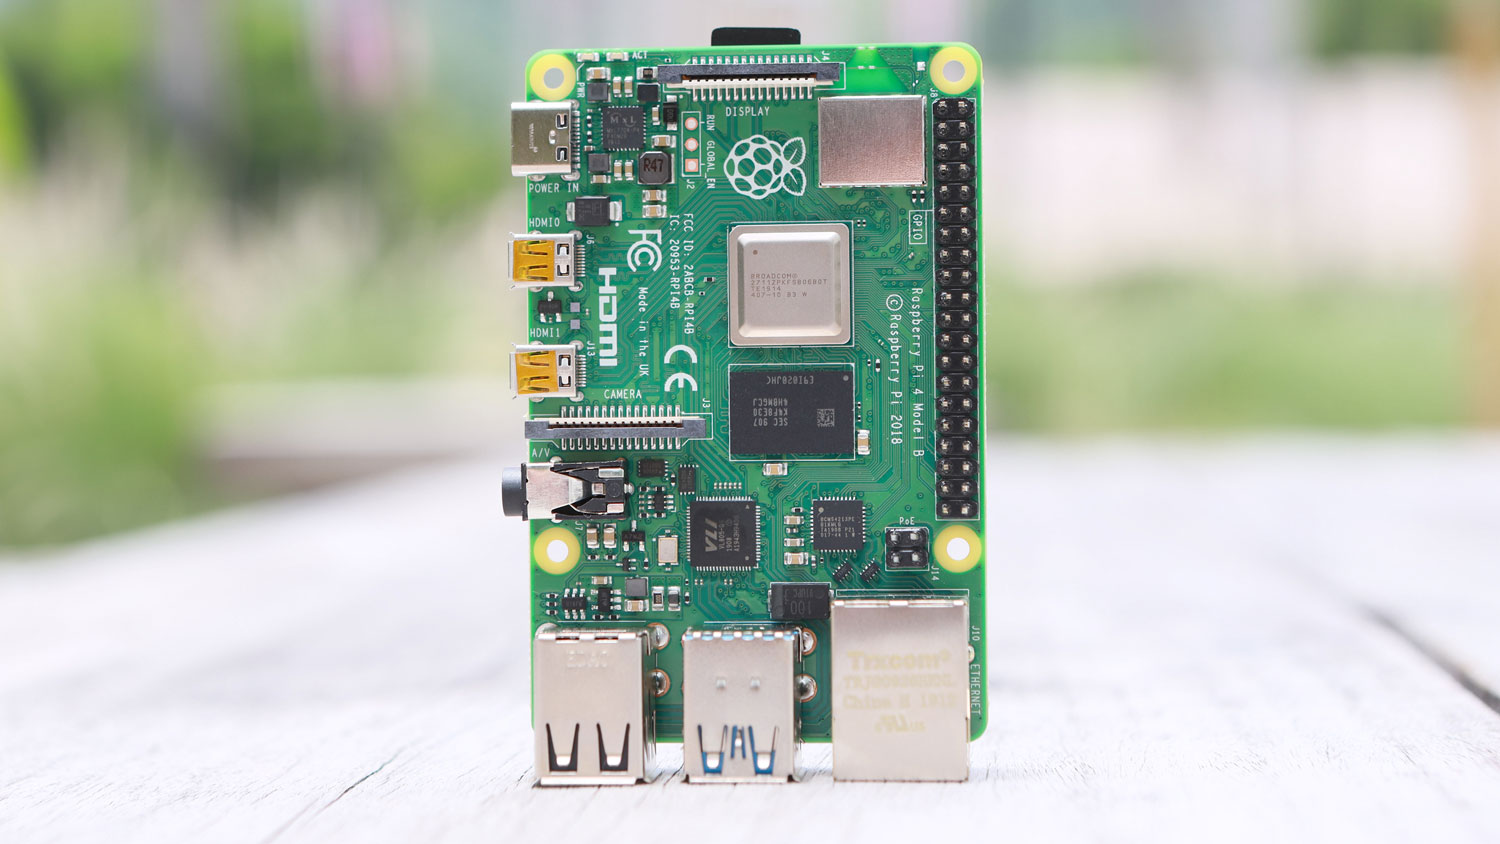
Are you looking for a way to make your Raspberry Pi more useful? If so, you may be interested in turning it into a remote development folder. This guide will show you how to get started. This will allow you and other coworkers can work together and push their updates into one single computer where everyone can view the final output.
First thing first, you need a Raspberry any version (2, 3 or 4) and a Computer client to do this job.
Raspberry
In your raspberry command prompt, you need to create a directory for your repo. In this example, we will creating a repo folder at the root where all of our project are located.
sudo mkdir /repo/your_projectFrom here, open your project folder and let’s create our git repository in bare type. (Bare type means there is no working directory in this folder)
cd /repo/your_project
sudo git init --bare
For your client to have access right to the directory, you need to assign a permission on our repo folder.
cd /repo
sudo chmod -R 777 .
Creating WWW directory with Checkout
Since we are using a bare type repository, there will be no working directory on that our folder. Instead we are using the hook checkout to transfer all of the latest push in a single directory such as our WWW directory for web development.
To do this, you need to edit the pre-commit hooks.
sudo vim /repo/your_project/hooks/post-receiveThen add the following lines to push all updates to our GIT_WORK_TREE directory.
#!/bin/sh
#
# An example hook script that is called after a successful
# commit is made.
#
# To enable this hook, rename this file to "post-commit".

GIT_WORK_TREE=/var/www/your_project git checkout -f
That’s everything for our Raspberry Git server side. So anyone that will connect into our server will be able to push their changes and that changes will automatically transfer to our www directory.
Client Side
For the client side, we will separate the guide in two scenarios.
- New Folder to Empty to Existing Git Folder Server
- Existing Folder to Empty Git Folder Server
- Existing Folder and Pull the Existing Git Folder Server
New Folder to Empty or Existing Git Server Folder
If you don’t have a copy of the files from the Git Server or you are just starting, you just need the clone command to initialize connection with our Git server.
mkdir your_project
cd /your_project
git clone your_username@192.168.50.2:/repo/cats
Inside the cats folder, create your first file and upload it to your Git server using push.
git add .
git commit -m "update files"
git push
Existing Folder to Empty Git Server Folder
If you already have existing folder and want to upload all of the files to your RP Git server, you need to use the add origin command to make connections with our Git server. Then make sure to pull the latest files from the server and make a commit to upload your changes.
cd /your_project
git init
git remote add origin

your_username@192.168.50.2:/repo/your_project
git pull origin master
git add .
git commit -m "update files"
git push --set-upstream origin master
After this one, you no longer need to add the –set-upstream command to push new changes.
Existing Folder to Existing Git Server Folder
For the scenario where you have existing folder and the RP Git server already has the existing files and folder. First, you need to make sure who owns the latest files, is it your client’s existing folder or from your Git server.
If you client has the latest files. You need to use the following commands (Make sure you are in the parent folder of your_project.)
mv /your_project /your_project_temp
cd /your_project
git init
git clone your_username@192.168.50.2:/repo/cats
cd ../
mv /your_project_temp /your_project
git add .
git commit -m "update files"
git push
Editor for Git Files and Development
You can use the editor Atom for development it has built-in Git tools where you can staged, commit and push new changes to your project.


