
SourceTree is a powerful Git client that helps developers manage their repositories with ease. However, as the number of developers working on a project grows, the need for robust collaboration and project management tools becomes more pressing. This is where GitLab comes in, offering an all-in-one platform that provides everything teams need to manage their projects effectively. Plus, GitLab offers a free private project option, allowing you to keep your repositories private while still collaborating with your team.
If you’re looking to migrate your SourceTree project to GitLab, you’re in luck. GitLab makes it easy to import your projects and sync them with your local machine. In this article, we’ll guide you through the step-by-step process of importing your SourceTree project into GitLab, showing you how to take advantage of GitLab’s free private project option, and how to keep your local and remote repositories in sync. By the end of this article, you’ll be able to seamlessly migrate your project from SourceTree to GitLab, giving your team the tools they need to work more efficiently and collaboratively.
How to Connect your GitLab account to SourceTree
Before anything else, we assume that you already connected your GitLab account to SourceTree. If you already not. You need to connect it first before doing this guide.
To connect your GitLab to SourceTree, you have to create an access token first at User Settings > Access Token. https://gitlab.com/-/profile/personal_access_tokens. Then fill up the Token name, Expiration date and necessary permission that you think is only needed. Then hit the Create personal access token button.

Then your personal access token will be created, copy the code (Click the reveal icon to show it).

Then at the SourceTree, Click the Remote tab. Then hit the Add an account button. From there, you need to select Hosting Service as GitLab. Then click the Refresh Personal Access Token, and a Windows Security will pop-up, at the Password enter the Personal access token code, no need to fill up username as it will automatically identify your account. Then hit ok to complete.

How to Import SourceTree Project to GitLab
First, create a new project on Gitlab at https://gitlab.com/projects/new.
You have to select Create blank project. Now, enter the project name of your repository and make sure to uncheck the Initialize repository with a README. Then hit the Create Project button.

Now, we have setup our Gitlab Repository, we have to open our SourceTree repository project and click the Remote button where it has a “!” red notification.

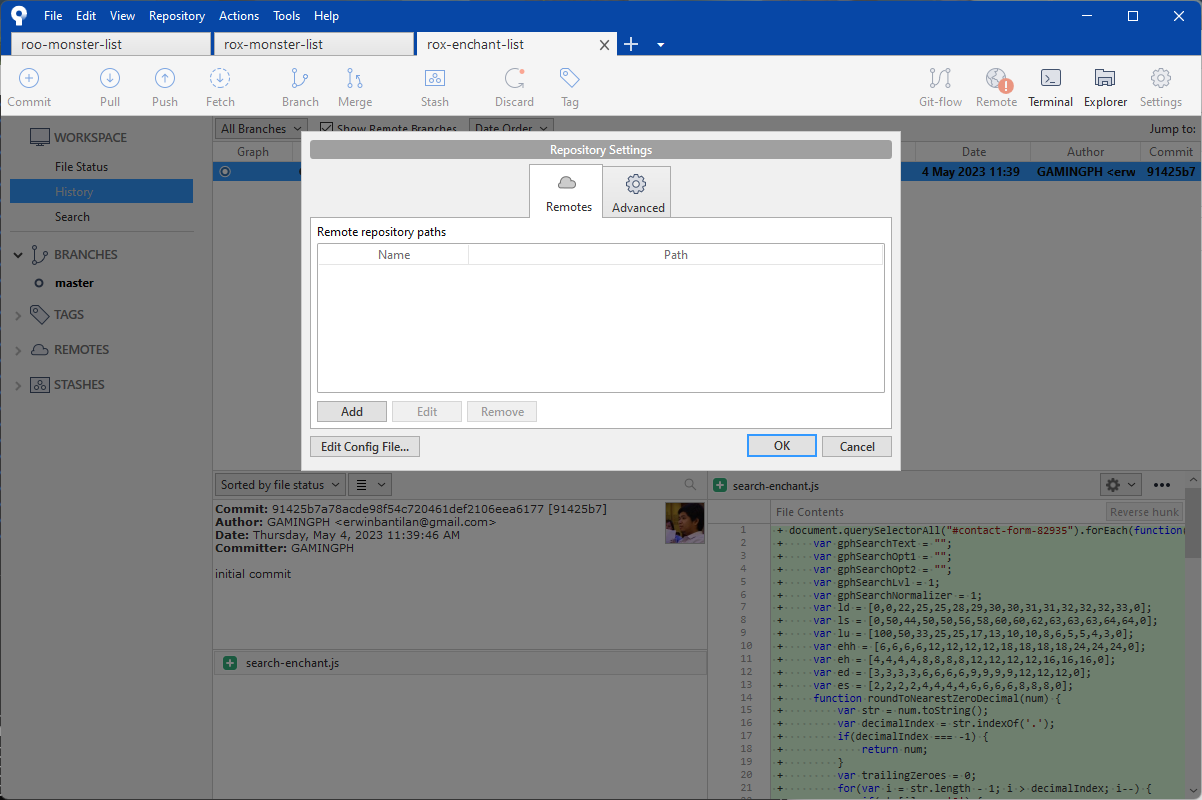
When clicked, you are asked “You don’t have any remotes which have extended integration settings configured; you need to edit your remotes to add details such as the hosting type and base URL. Click the Settings button to open your remote list.” Just hit the Settings button to proceed.

Now, the Repository Settings will pop-up, just click the Add button from the Remote repository paths.


The last thing we need to do is to push your Repository from SourceTree to GitLab. Just hit the Push on the upper left corner of the screen. Then, you have to name the Remote branch to master or main and make sure to check the Push? checkbox. Then hit the Push button.

Then you’ll just wait until all of your files are uploaded to GitLab.

Then it’s done! Your repository is now migrated to GitLab with all of the commit you have added while you are working it on your local computer.
