
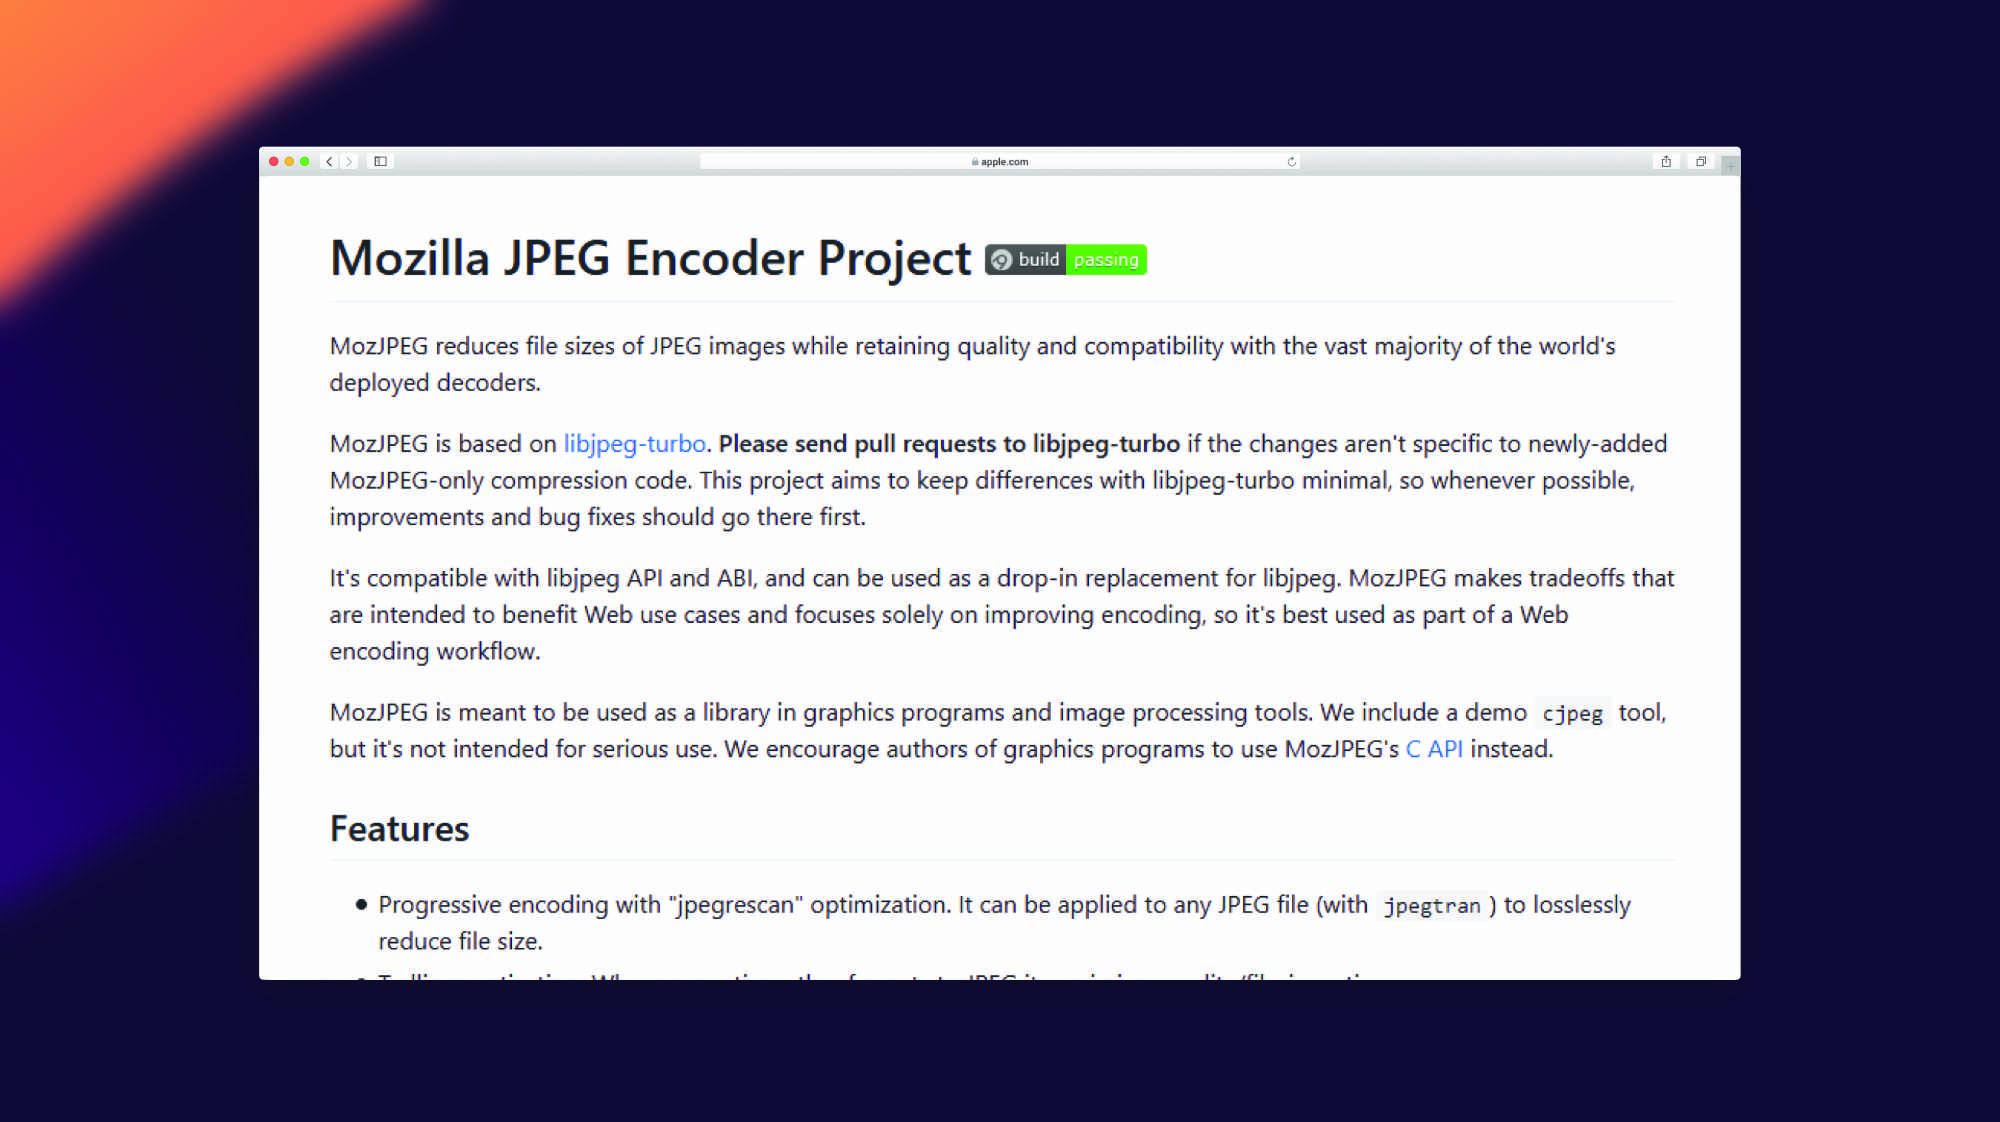
So far, the best jpeg compression available today is from Mozzila, the Mozjpeg. It is also the most up to date, the compression quality of using mozjpeg is similar to the original even lowering the quality to 75%. In this tutorial, we will teach you how to install mozjpeg on your Ubuntu from scratch, including some hiccups with dependencies problem.
Install Dependencies
To fix error such as “Could NOT find PNG (missing: PNG_LIBRARY PNG_PNG_INCLUDE_DIR) (Required is at least version “1.6”)” and “Could NOT find ZLIB (missing: ZLIB_LIBRARY ZLIB_INCLUDE_DIR)”, you need to install these dependencies.
sudo apt install zlib1g-dev libpng-devInstall Compiler Tools
Now we have the dependencies already, we can now proceed on installing the compiler tools for our MozJpeg.
sudo apt-get update
sudo apt-get install cmake autoconf automake libtool nasm make pkg-config
Download the Source
Next is we have to download the zipped source from Github and unzip it. Make sure you’re in your home directory.
cd ~/
wget https://codeload.github.com/mozilla/mozjpeg/zip/master -O mozjpeg-master.zip
unzip mozjpeg-master.zip
If you don’t have unzip installed in your Ubuntu. Just install it via sudo apt-get install unzip.
Building the Source
Now, we can proceed on building the source.
cd mozjpeg-master
mkdir build && cd build
sudo cmake -G"Unix Makefiles" ../
You can also enable PNG support by adding sudo cmake -G"Unix Makefiles" -DPNG_SUPPORTED=ON ../.
If you want to install it right away. You can do sudo make install. When you do this, please proceed immediately to Usage.
sudo make install(Optional) For some who wants to create an installation deb files, so they can distribute the installer without doing the compilation. You can do this one instead.
sudo make debThe deb file should be located in the build directory named mozjpeg_4.0.0_amd64.deb.
You can install the deb file by using dpkg. You may also do the same on other server that you want to install mozjpeg without the needs of compilation from scratch.
sudo dpkg -i mozjpeg_4.0.2_amd64.debUsage
Now we have successfully installed the mozjpeg, we can now install a symbolic link so we can use it on the command or in your apps.
sudo ln -s /opt/mozjpeg/bin/cjpeg /usr/bin/mozjpeg
sudo ln -s /opt/mozjpeg/bin/jpegtran /usr/bin/mozjpegtran
To use mozjpeg, here are the sample commands:
mozjpeg -quality 70 your_picture.jpg > your_picture_compress.jpg
mozjpegtran -optimize -progressive your_picture_compress.jpg > your_picture_compress.jpg
The example command above will compress the image to 70% quality and it optimize the image by using mozjpegtran. It is ideal to use the combination of mozjpeg and mozjpegtran to get better compression.

